LISTING PHOTOS
NJ & PHILADELPHIA
Home Staging for Listing Photos: How to Make Rooms Read Clearly on Camera
A room can look welcoming in person and still read poorly in a listing photo. A photograph flattens a space to one frame—making placement, balance, and focal points far more noticeable.
StageIT Staging Team
.
September 2026
.
10 min read
KEY TAKEAWAYS
If you only read one thing
- A photo flattens a room, so scale, balance, and focal points matter more on camera.
- Keep sightlines open and reflective surfaces clear of clutter.
- Check the room from the likely camera angle before the photographer arrives.
- Finish staging before the shoot—StageIT stages; the photographer photographs.
A room can look welcoming in person and still read poorly in a listing photo. A photograph reduces a three-dimensional room to a single frame, making furniture placement, visual balance, and focal points more noticeable.
Staging for listing photos is about helping buyers quickly understand what the room is for, how large it feels, where the main focal point is, and how the furniture and layout work together. The goal is to make the room read clearly from the likely camera angle before the photographer arrives.
Show the Room's Purpose Clearly in the Frame
A buyer should be able to quickly understand a room’s purpose from the listing photo. Furniture placement is what communicates that function. A living room should show a clear seating area and focal point, while a dining area should read as a distinct zone rather than blending into nearby spaces.
In open-plan homes, use furniture orientation and rug placement to separate living and dining areas visually without adding physical barriers. If a room currently serves several purposes, stage it around one clear primary function for the photograph. The goal is to help buyers immediately understand how the space can be used.
Match Furniture Scale to the View of the Room
Furniture can feel comfortable in person but still look too large or heavy in listing photos. From a doorway or corner, oversized pieces may dominate the frame and make the room appear tighter. Focus on:
Visible floor area:
leave enough open floor around furniture so the room doesn't feel crowded.
Furniture proportions:
bulky sectionals, beds, or storage pieces can carry too much visual weight—slimmer profiles or fewer pieces may photograph better.
Rug placement:
use a rug that clearly anchors the seating area instead of making the arrangement feel fragmented.
These decisions should be based on the room’s actual proportions and likely camera angle. There is no single furniture-size rule that works for every property.
Open Sightlines Without Losing the Layout
Listing photos are often taken from positions that capture a broad view of the room, so furniture that crosses the camera’s sightline can make the space feel more crowded or visually confusing. Common sightline problems include:
Chairs blocking views
into adjoining spaces
Tall furniture
cutting across the frame and reducing visual depth
Unrelated rooms or furniture
becoming distracting through open doorways
Poorly angled tables or furniture
drawing attention away from the room's focal point
Opening sightlines doesn’t mean removing everything. Keep enough furniture to show the room’s purpose and scale, while maintaining a clear visual path from the camera position toward the focal point and far side of the room. Important architectural features—fireplaces, large windows, built-ins, and outdoor access—should also remain visible rather than unnecessarily blocked by furniture.
Remove Visual Distractions and Check Reflections
In listing photos, anything that pulls attention away from the room can become a distraction. Check the planned camera angle and notice what catches your eye first. Common distractions include:
Too many small accessories
on counters, shelves, or tables
Visible cords and cables
Personal items
such as family photos or collections
Pet items, cleaning supplies, toiletries, or small appliances
Competing focal points
that make the frame feel visually busy
Check reflections from the camera position
Mirrors, television screens, glass cabinets, polished surfaces, and windows can capture unexpected details that are easy to miss in person. Before the shoot, check reflective surfaces from the likely camera position and remove or reposition anything that creates visual clutter.
Four Room Examples: What Changes Before the Camera
These StageIT US examples show how furniture scale, room function, focal points, and sightlines can affect what reads clearly in listing photos.

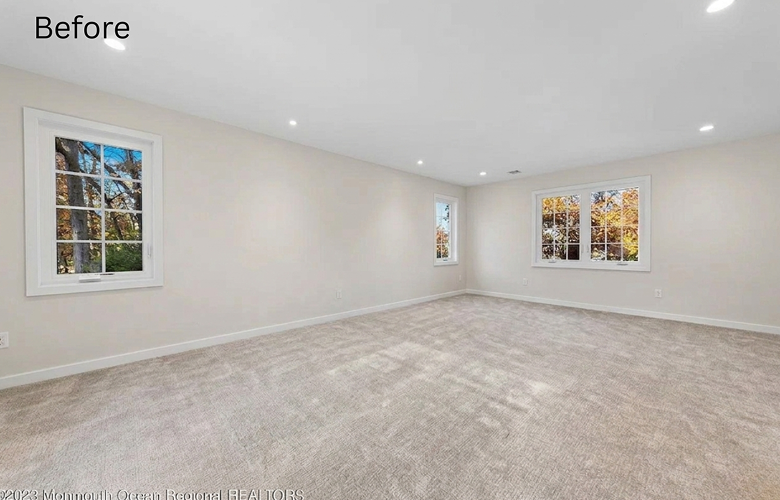
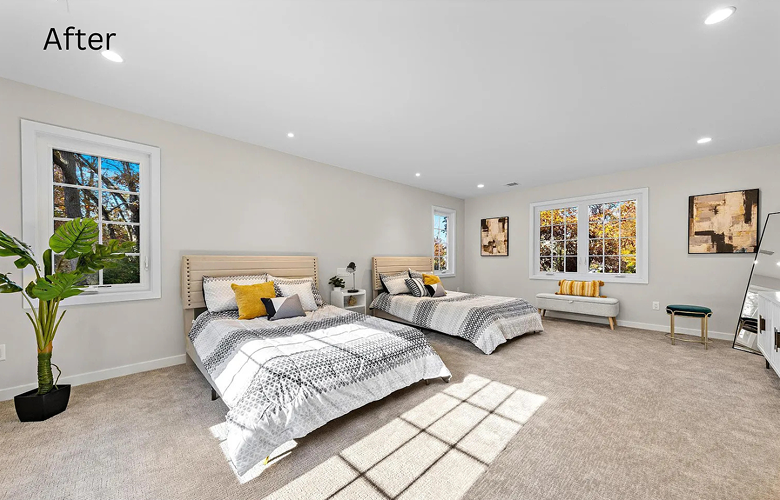
EXAMPLE 1 · TOMS RIVER, NJ
Showing scale and function
BEFORE
Large rooms were difficult to judge for scale without furniture, especially in the main living areas.
STAGING DECISION
Use appropriately scaled furniture to define the living space while keeping enough open floor area for the room's proportions to remain clear.
READS MORE CLEARLY
The staged room gives buyers a clearer reference for its size, purpose, and furniture layout.

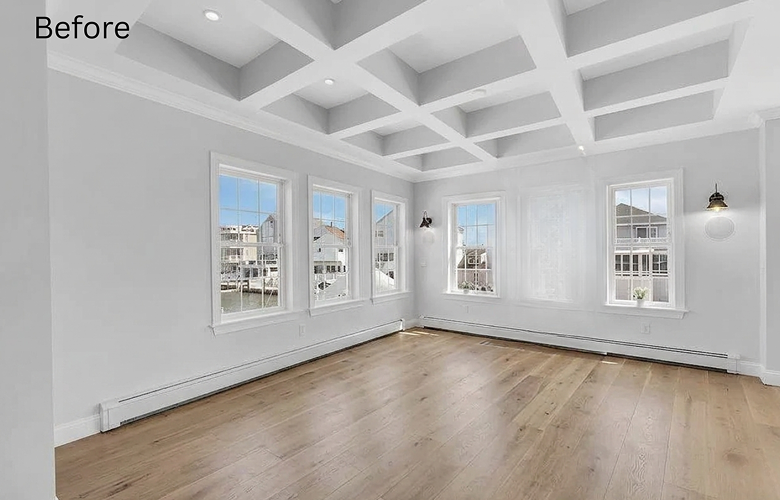
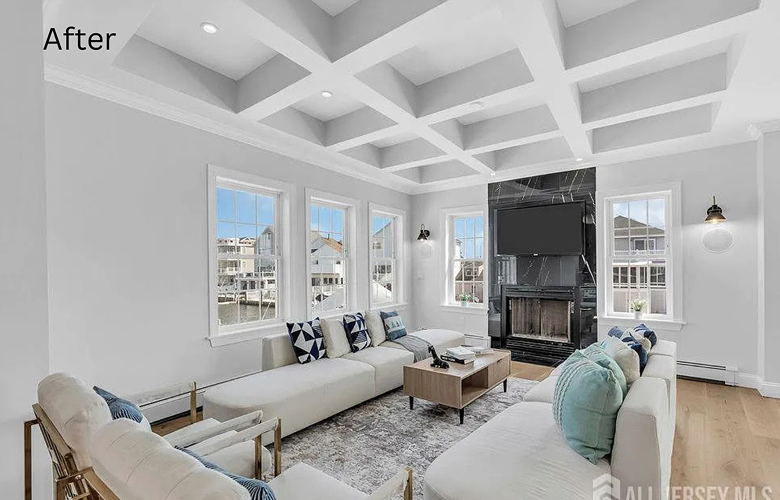
EXAMPLE 2 · BRICK, NJ · WATERFRONT
Scale and sightlines
BEFORE
The waterfront setting was an important property feature, but the interior needed stronger furniture scale and cohesion.
STAGING DECISION
Use furniture and styling that fit the room's proportions while keeping the waterfront setting visually connected to the interior.
READS MORE CLEARLY
The room has a more defined function while important exterior views remain visually connected to the space.
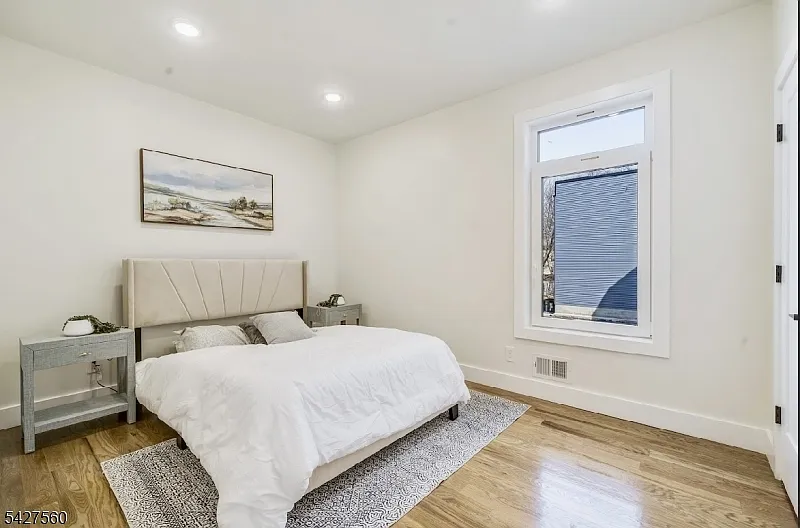
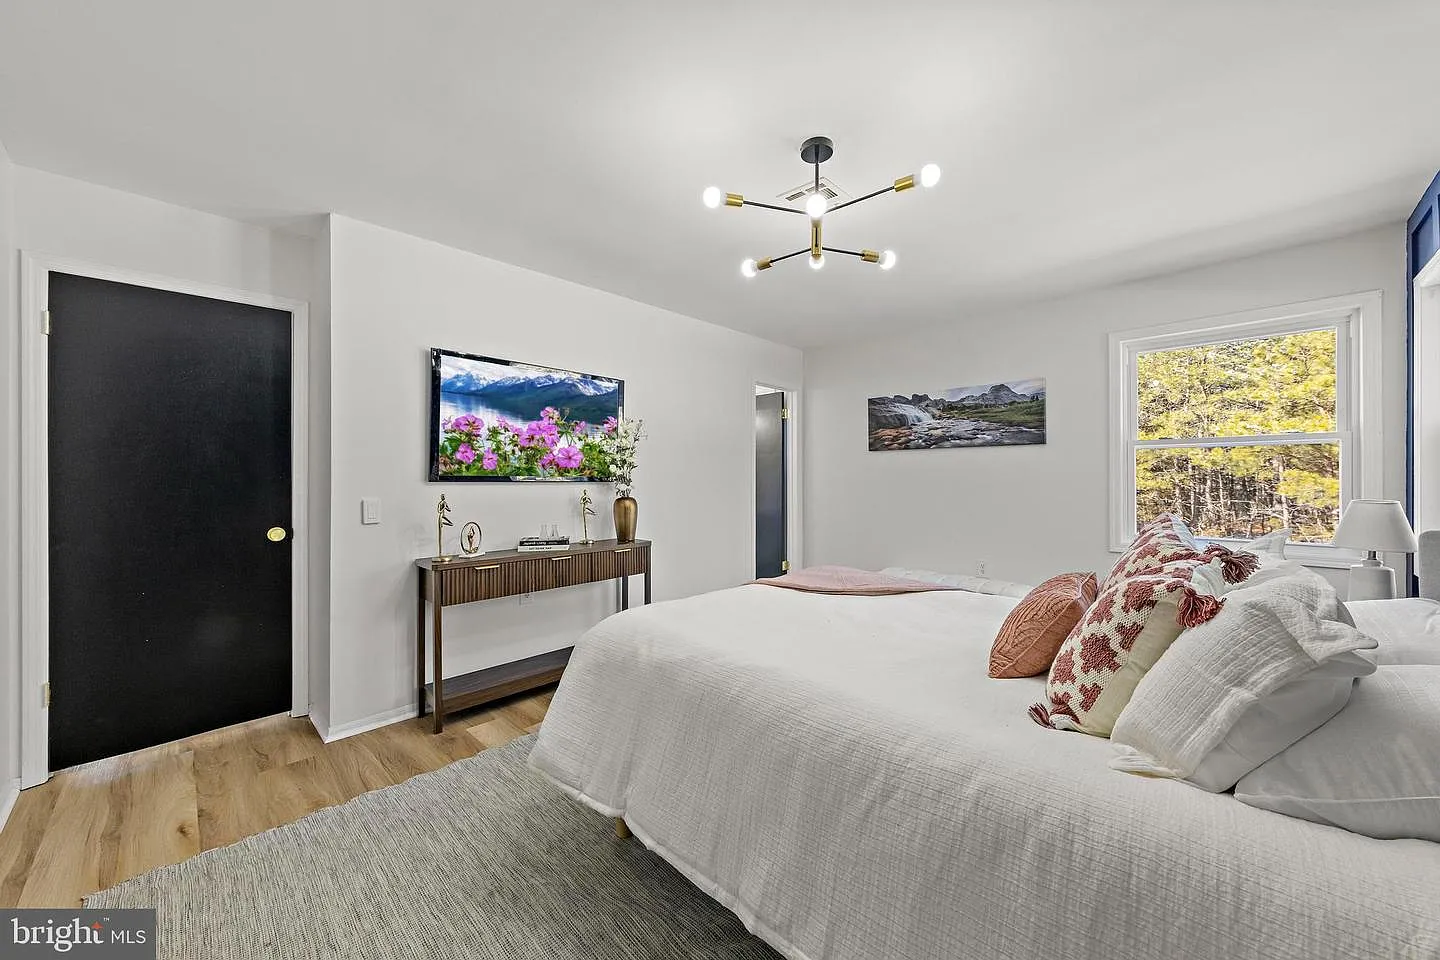
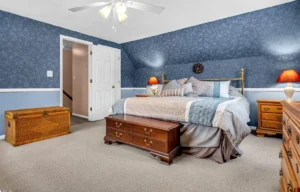
EXAMPLE 3 · CREATING A CLEAR FOCAL POINT
A bedroom that reads at a glance
A staged bedroom should make its primary function immediately clear in the frame. What to notice:
The bed acts as the main visual anchor
Furniture remains proportional to the room
Accessories are restrained rather than competing for attention
Visible floor area helps communicate scale
The overall arrangement keeps attention on the room rather than individual objects
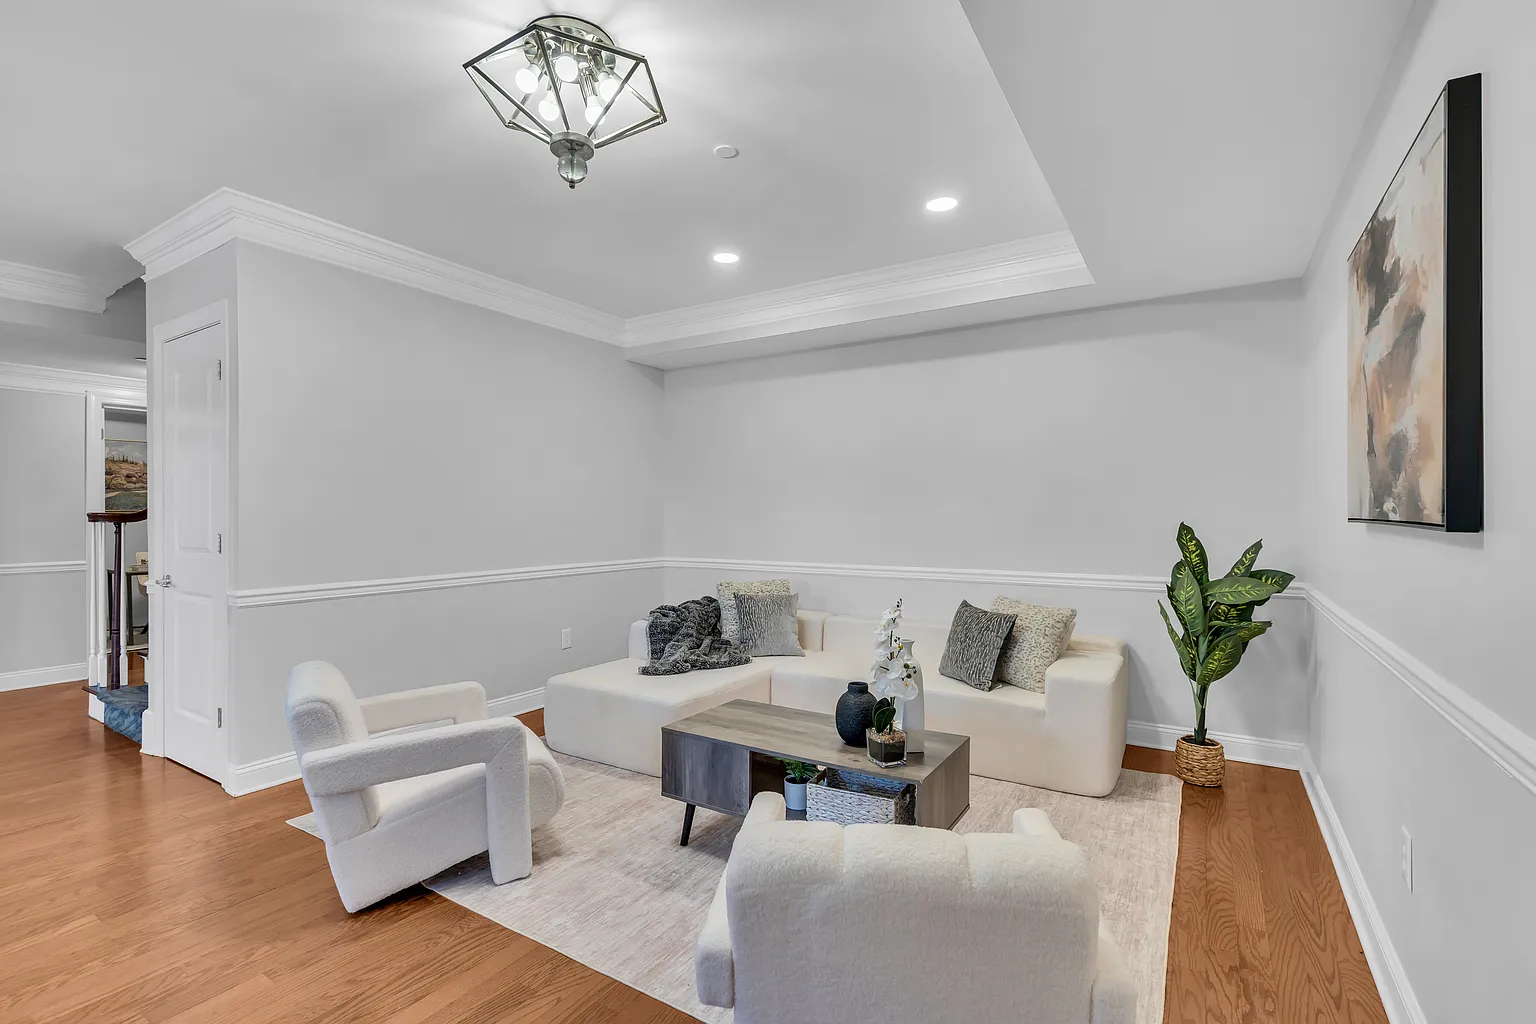
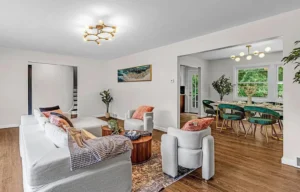
EXAMPLE 4 · SIGHTLINES AND ARCHITECTURAL FEATURES
Furniture that supports the architecture
A room can photograph more clearly when furniture supports the architecture instead of interrupting important sightlines. What to notice:
Furniture remains appropriately scaled
The arrangement preserves movement through the room
Architectural features remain visible
The seating area gives the room a clear purpose without overcrowding the frame
For more real New Jersey projects, see the StageIT US before-and-after portfolio.
Coordinate With the Photographer and Check Daylight
Before the shoot begins, a quick review of planned camera angles can help catch small issues with sightlines, reflections, and daylight. Check:
Window treatments:
decide whether blinds or curtains should be open, closed, or partially drawn based on light, glare, and the view.
Accessories and lamps:
remove or adjust anything that distracts from the camera angle or interrupts the sightline.
Occupied homes:
clear personal bags, pet items, jackets, and other temporary belongings from all photographed spaces.
Daylight can also change how a room photographs, especially in spaces with large windows or strong east- or west-facing light.
StageIT stages; the photographer photographs
StageIT US provides home staging, not photography services. Photographer workflow, camera settings, and equipment decisions should remain with the photographer.
Arrange Staging Before the Photography Appointment
Staging should be completed before the photographer arrives. Furniture placement, accessories, and room preparation should not be decided during the shoot.
Major furniture and styling decisions belong before the shoot—only minor adjustments during it.
STAGING PRINCIPLE · PHOTO-DAY READINESS
For occupied homes, confirm which furniture stays, what should be repositioned or removed, and whether a few selective additions would improve the room on camera. For vacant homes, furniture installation and styling should be complete before the photography appointment. If a listing agent, staging company, and photographer are involved, align the schedules in advance so everyone is working toward the same presentation. For broader preparation steps, refer to the home staging checklist for NJ sellers.
SAVEABLE CHECKLIST
To Book Staging Before Your Photos, Share
These details let us prepare a staging plan before the shoot.
- Property address and town
- Photos of priority rooms
- Furniture you plan to keep
- Occupied or vacant status
- Approximate dimensions, if available
- Target photography or listing date
- Align agent, stager, and photographer schedules toward one presentation.
Book Staging Before Your Listing Photos
StageIT US can review the property and prepare a staging plan before the photography appointment. Call 732-475-3439 or request a property-specific staging estimate online. You can also view real New Jersey projects in the StageIT US before-and-after portfolio.

IN THIS ARTICLE
Photos coming up?
Get a staging plan finished before the photographer arrives—so every room reads on camera.
or call 732-475-3439
SHARE
FREE STAGING ESTIMATE
Make every room read on camera
Share priority-room photos, approximate dimensions, furniture to keep, and your target photography date. We'll prepare a staging plan before the shoot.
Staging for Photos: Common Questions
Answers for New Jersey and Philadelphia sellers preparing for listing photography.
Is staging for photos different from staging for showings?
The goals are similar, but listing photos place more emphasis on furniture scale, sightlines, focal points, reflections, and visual distractions within a fixed camera frame.
Should staging be completed before the photographer arrives?
Yes, ideally. Major furniture placement and styling decisions should be finished before the shoot, with only minor adjustments left for the photography session.
What makes furniture look crowded in listing photos?
Oversized pieces, too many items in one frame, limited visible floor space, and competing focal points can make a room look crowded. Scale and spacing should be checked from the likely camera angle.
Can an occupied home be staged for photography?
Yes. Existing furniture can be kept, moved, edited, or supplemented based on the property. The staging plan should reflect the actual rooms, furniture, and listing goals.
Before the Camera Arrives
Preparation, layout, and real transformations across New Jersey.

Selling a House With Tenants in New Jersey: How to Prepare It for Photos and Showings
Home TENANT-OCCUPIED NEW JERSEY Selling a House With Tenants in NJ: How to Prepare It for Photos and Showings Selling

Staging a Small Bedroom Before Selling: Bed Size, Storage and Clear Walkways
Home SMALL BEDROOMS NJ & PHILADELPHIA Staging a Small Bedroom Before Selling: Bed Size, Storage and Clear Walkways Staging a

Home Staging for Listing Photos: How to Make Rooms Read Clearly on Camera
Home LISTING PHOTOS NJ & PHILADELPHIA Home Staging for Listing Photos: How to Make Rooms Read Clearly on Camera A
Stage it before you shoot it
Send priority-room photos and your target photography date, and we’ll prepare a staging plan so every room reads clearly on camera.